
If you’re starting a brand-new farm in Stardew Valley and your goal is to complete the Community Center in Year One while building a powerful, efficient farm — this guide is your full seasonal blueprint.
Many beginners focus purely on making money early. That works — but it often slows down long-term progress. Instead, this roadmap focuses on infrastructure first: unlocking tools, buildings, skill levels, and key progression systems that make the rest of the year dramatically easier.
Inside this guide, you’ll learn:
- Exactly which crops to buy on Day 1 of every season
- How to balance farming, fishing, mining, and foraging
- When to prioritize tool upgrades
- How to prepare animals early for bundle completion
- The fastest path to unlocking the Greenhouse
- How to reach Skull Cavern and Ginger Island before Year Two
If you follow this seasonal structure, you won’t just “survive” Year One — you’ll enter Year Two with a fully operational, high-profit farm and access to late-game content.
Spring – Build the Foundation (Infrastructure Over Profit)
Spring is not about getting rich.
It’s about building systems that make Summer, Fall, and Winter massively easier. The players who struggle later usually rushed Spring profits and ignored infrastructure. Don’t make that mistake.
Your goals in Spring are:
- Unlock the Community Center
- Progress deep into the Mines
- Start tool upgrades
- Build your first farm buildings
- Lay the groundwork for animals
- Prepare for quality sprinklers
Day 1: Smart Crop Strategy

You begin with 15 parsnip seeds and 500g.
You have two options:
- Plant all parsnips immediately (safe beginner route)
- Sell some seeds and invest in higher-value crops (higher risk, faster scaling)
For most players, planting the parsnips and spending the 500g on additional seeds is optimal.
Buy at least one of each for the Community Center:
- 1 Cauliflower (long grow time, plant early)
- 1 Potato (strong early return)
- 1 Green Bean (regrows, long-term value)
Green beans are especially valuable because they regrow every few days — meaning fewer seeds to rebuy.
If you have extra gold, potatoes are strong early profit crops due to their chance to double-yield.
Daily Early-Game Priorities
After watering crops each morning, your daily energy should go toward progression — not random busywork.
Priority Order:
- Unlock the Community Center (enter town after 8am on Day 5)
- Start mining aggressively once the mines open
- Fish on bad luck days for income
- Gather wood for early buildings
- Repair the beach bridge for forage access
Fishing is your primary income source in early Spring. Farming alone won’t sustain you yet.
Tip: Save fish until Level 5 Fishing if possible — choosing the Fisher profession increases sell price by 25%.
The Mines Strategy (Your True Spring Objective)

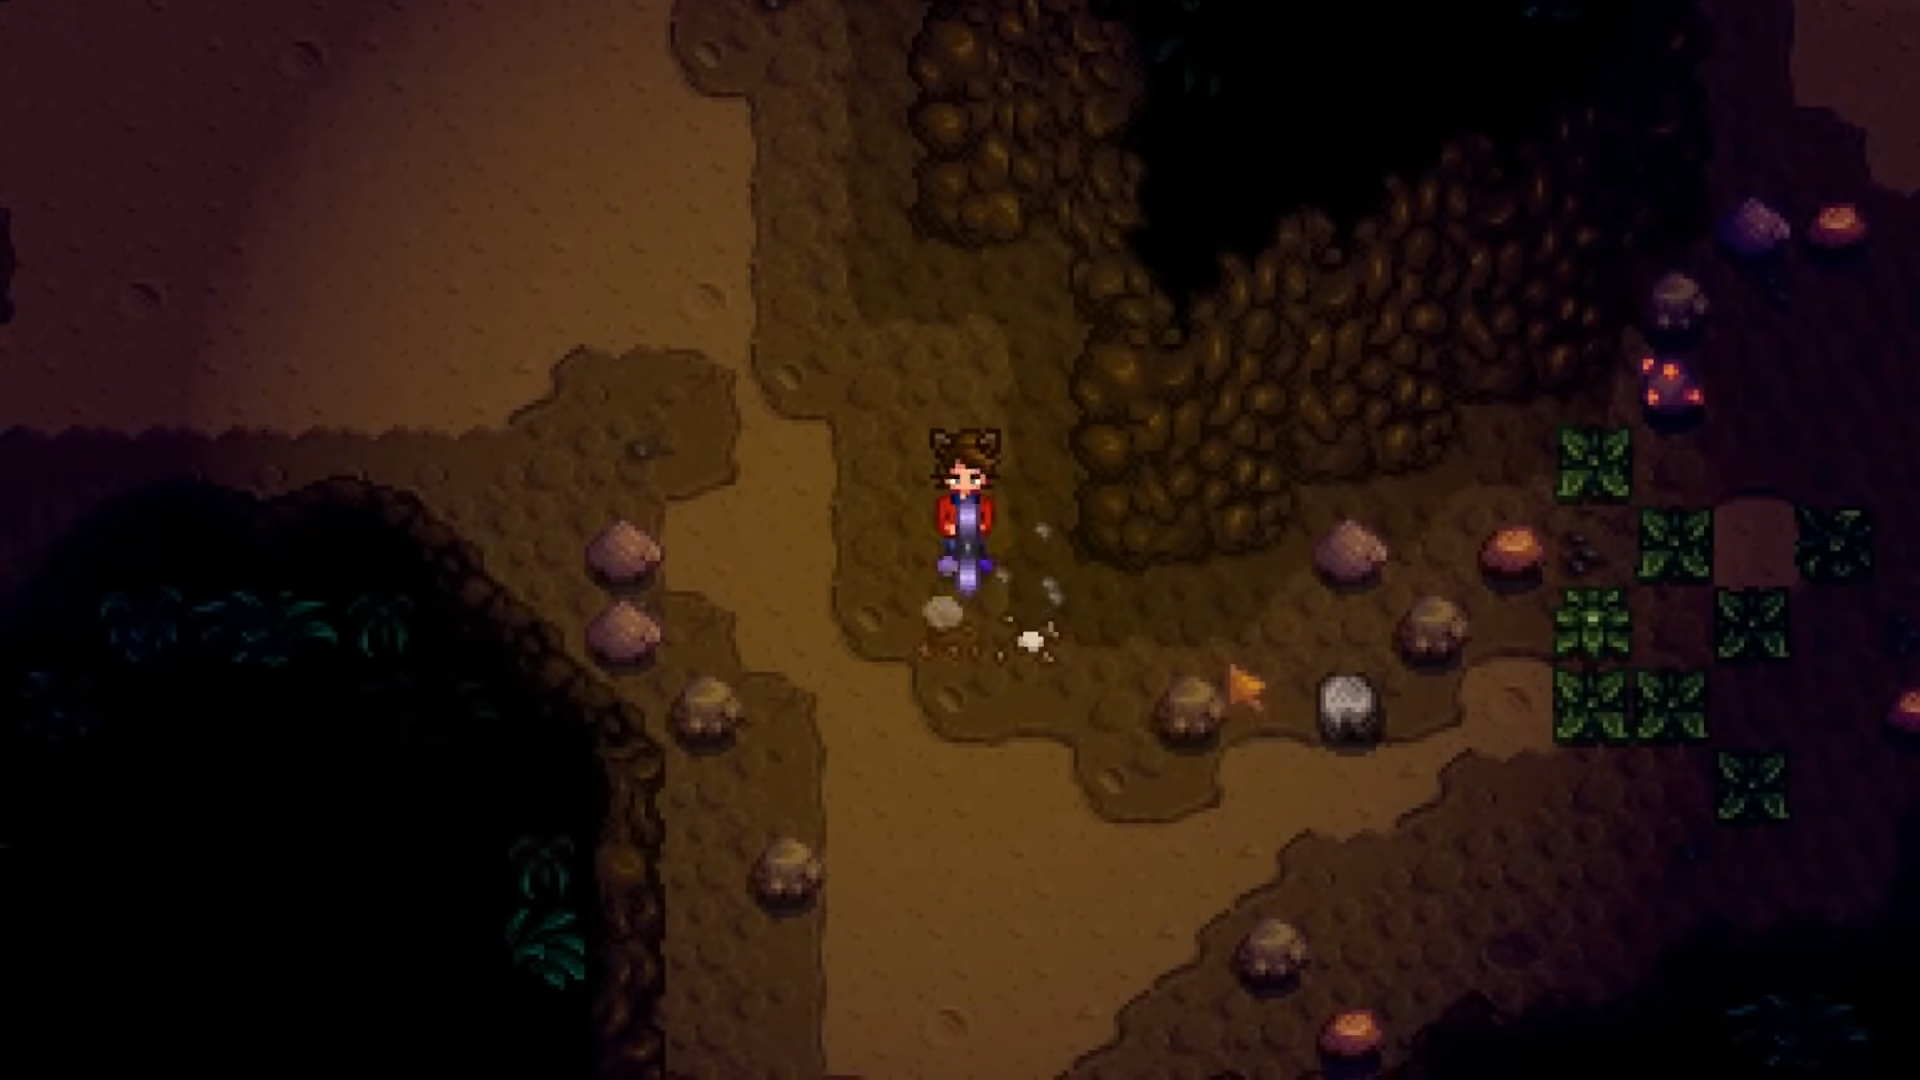
The mines are your biggest progression gate in Year One.
Your Spring mining goal should be:
- Reach Floor 40 quickly (iron access)
- Upgrade pickaxe to Copper before Floor 40
- Push toward Floor 100 (first Stardrop)
- Ideally reach Floor 120 before Summer
Why this matters:
- Stardrop increases max energy (huge early boost)
- Iron + Gold unlock Quality Sprinklers
- Combat levels unlock stronger gear
- Ore stockpiling speeds Summer expansion
Always check the TV for daily luck. Mine on high-luck days. Fish or chop wood on bad-luck days.
Pro tip: Defeating enemies costs zero energy and may spawn ladders — clear monsters first before breaking rocks.
Community Center Awareness
Spring contains several season-exclusive items. If you miss them, you delay completion an entire year.
Key reminders:
- Keep one of every crop for bundles
- Check the Traveling Cart twice weekly
- Donate early artifacts for museum rewards
- Hit artifact spots daily (worm tiles)
Donating early can reward 9 free cauliflower seeds — an incredible early boost.
Animals & Early Buildings
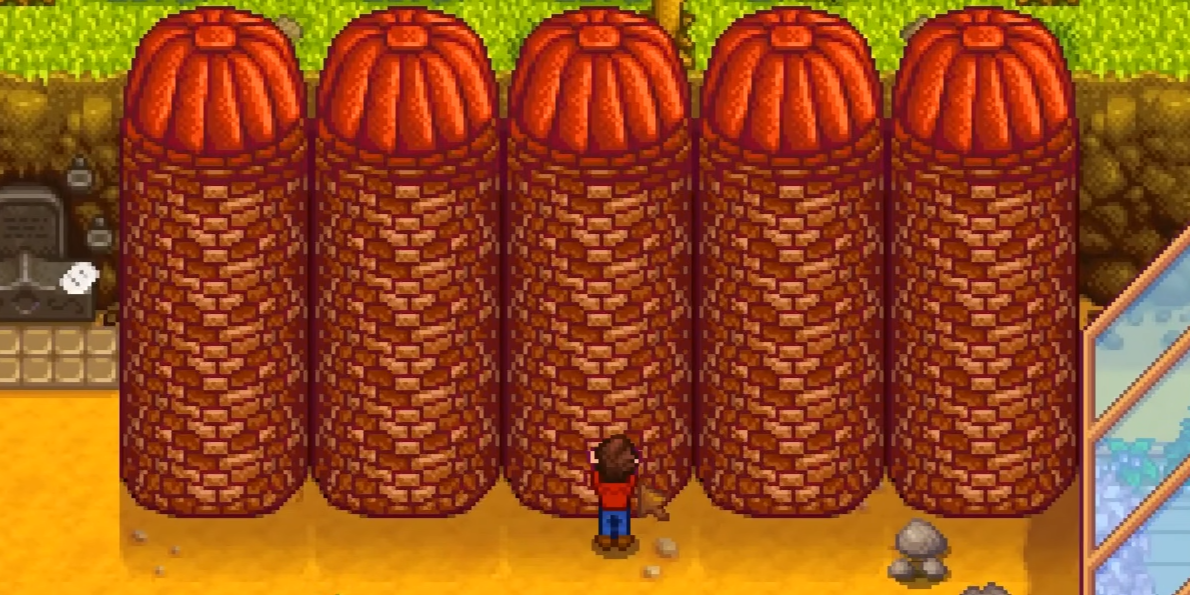

Animals take time to mature. The earlier you build, the easier Fall and Winter become.
Build Order:
- Silo (before cutting grass!)
- Coop
- Two Chickens (1 brown, 1 white)
- Barn (if financially possible)
Never cut grass before building a Silo — otherwise you waste potential hay.
Chickens must mature and be happy to produce Large Eggs required for bundles. Starting early prevents delays later.
Summer – The Money Engine Begins
If Spring was about preparation, Summer is about acceleration.
You now have:
- Better tools
- Mine progress
- Basic animals
- Skill levels building
Summer is where profits start scaling — especially if you prepared oak resin and unlocked kegs.
Summer Strategy – Community Center Crops & Profit Planning

Summer is where your farm shifts from “survival mode” into serious momentum. If Spring was about infrastructure, Summer is about scaling income while locking in Community Center progress.
On Day 1 of Summer, your seed choices matter more than any other season. You’re not just planting for profit — you’re planting for bundles, future wine production, and quality crop requirements.
Mandatory Crops for the Community Center
You must plant at least one of each of the following:
- Tomato – Summer Crops Bundle
- Hot Pepper – Summer Crops Bundle
- Blueberry – Summer Crops Bundle
- Melon – Needed for 5 Gold Quality (Quality Crops Bundle)
- Corn – Needed for 5 Gold Quality (grows Summer & Fall)
- Sunflower – Dye Bundle
- Poppy – Chef’s Bundle (very easy to forget!)
- Wheat (at least 10) – Fodder Bundle
Important: Plant many melons on Day 1. You need five gold-quality melons, and multiple harvests increase your odds dramatically.
Corn is efficient because it regrows and lasts into Fall, meaning you only plant it once for two seasons of bundle progress.
Every Friday and Sunday, visit the Traveling Merchant. Red Cabbage (or its seeds) is required for the Dye Bundle and may only appear there during Year One. Missing it delays completion by a full year.
Hops → Kegs → Pale Ale: Your Summer Money Engine
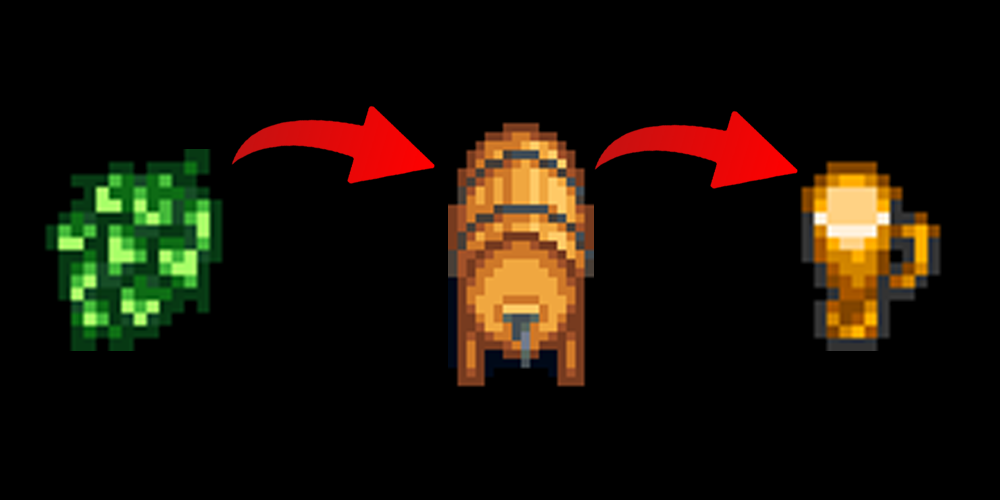

Once your bundle crops are secured, invest the rest of your gold into Hops.
Hops grow quickly and regrow daily after maturing, making them one of the highest raw-output crops in Summer.
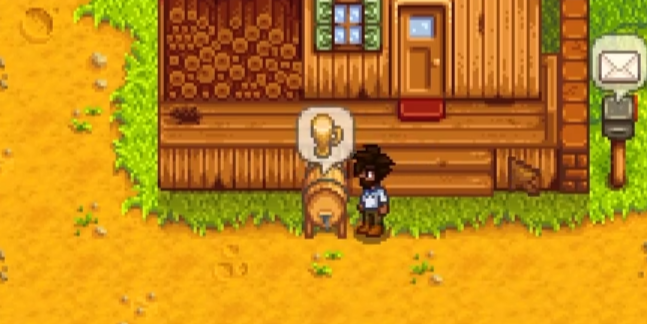
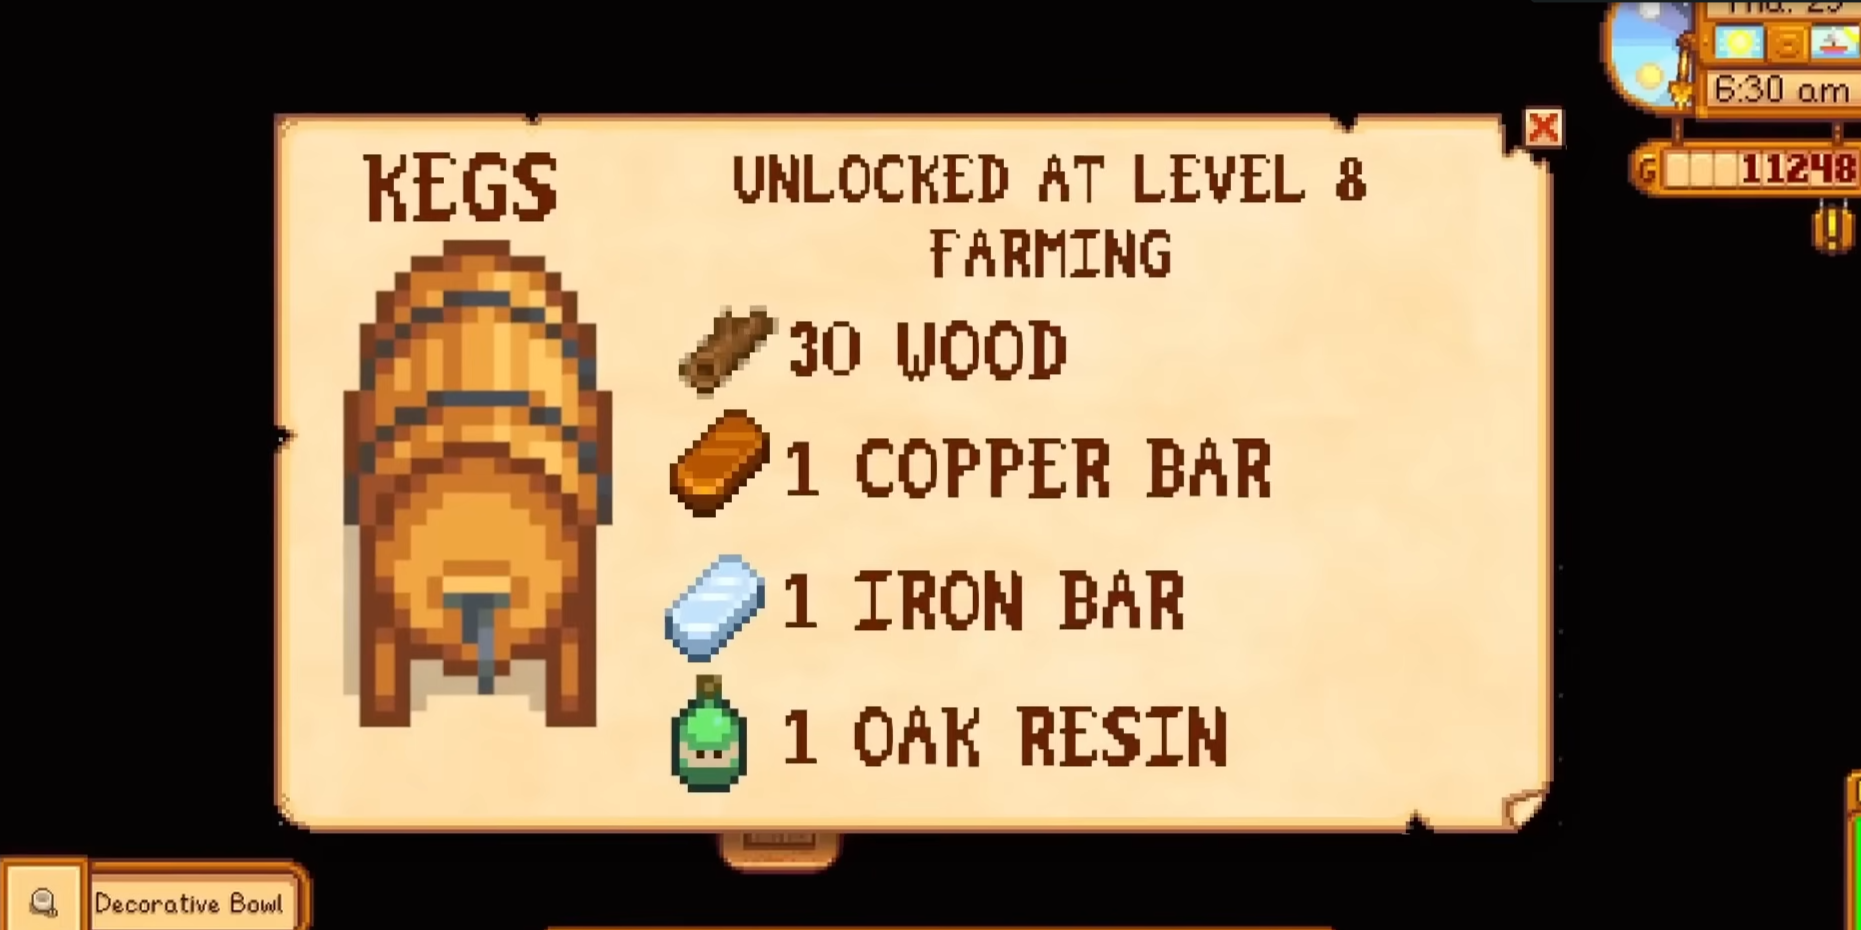
At Farming Level 8, you unlock Kegs. This is where the strategy explodes in value.
Hops → Keg → Pale Ale
Pale Ale is one of the most profitable artisan goods in Year One.
If you placed Oak Tree tappers in Spring, you should already have Oak Resin ready to craft multiple Kegs immediately.
The goal is simple:
- Grow as many hops as possible
- Craft as many kegs as possible
- Convert all hops into Pale Ale
This becomes your primary funding source for Fall upgrades and the Vault bundle.
Mid-Summer Upgrade Goals
Summer is also the season where animal progression must accelerate. Many Bulletin Board items require upgraded animals, and they take time to mature.
- Upgrade Coop → Big Coop (Buy a Duck for Duck Feather)
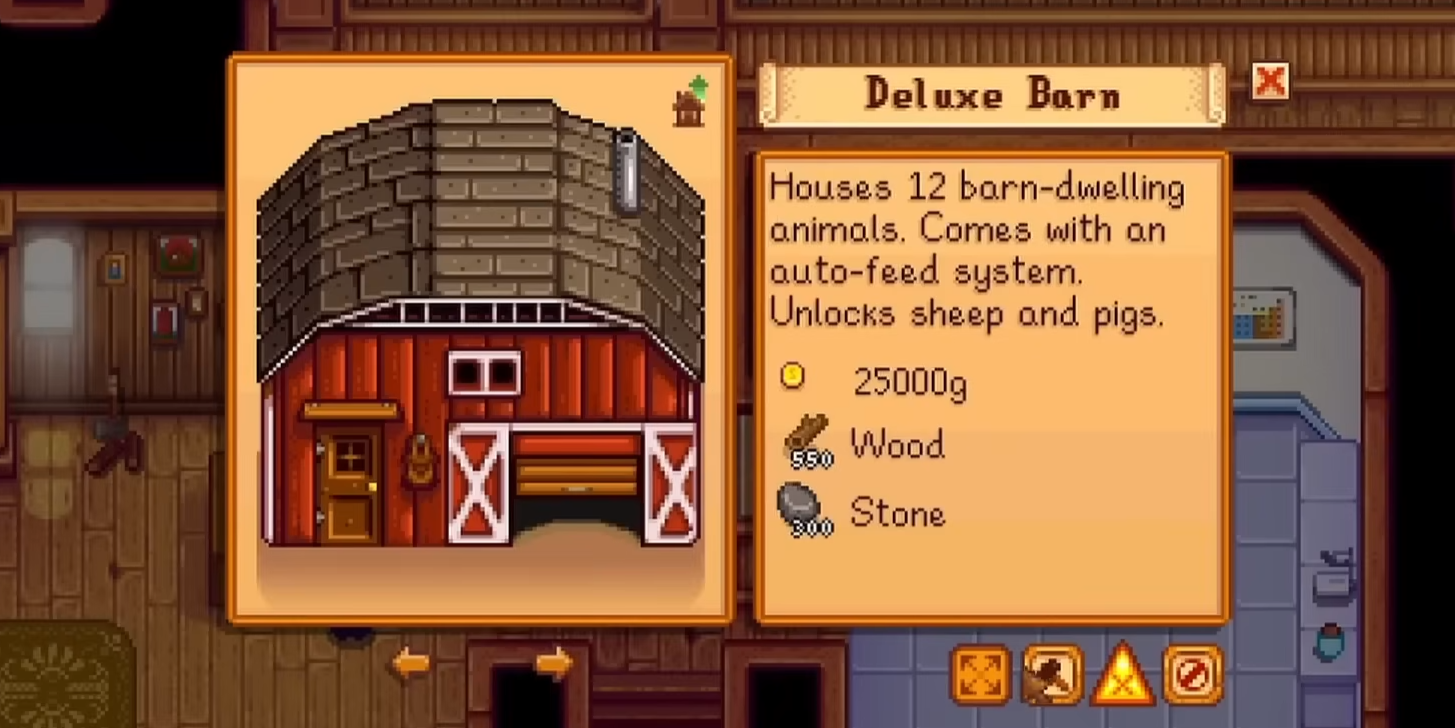
- Upgrade Barn → Big Barn → Deluxe Barn (Buy Goat and Pig)
- Upgrade Axe to Steel (Unlock Secret Woods for Hardwood & Fiddlehead Fern)
- Craft Lightning Rods (Battery Packs for later: Crystalariums, Iridium Sprinklers, and Willy’s Boat)
Lightning Rods are extremely important. Battery Packs cannot be obtained during Winter without preparation. Summer storms are your only reliable source.
Summer Fishing Checklist (Do Not Skip Rainy Days)

Summer has several seasonal fish required for the Fish Tank bundle. Many can only be caught during specific weather and times.
Prioritize rainy days immediately.
- Pufferfish – Ocean, 12pm–4pm, Sunny
- Red Snapper – Ocean, Rainy
- Sturgeon – Mountain Lake, 6am–7pm
- Tuna – Ocean
- Tilapia – Ocean
Sturgeon are especially valuable — they sell well and are used for fish ponds later.
If you missed Spring fish like Eel or Catfish, Fall will give you another chance — but Summer fishing reduces stress later.
Fall – Profit Season & Community Center Completion

Fall Crop Strategy – Pumpkins or Cranberries?
Fall is where your infrastructure pays off.
For bundles, you must plant:
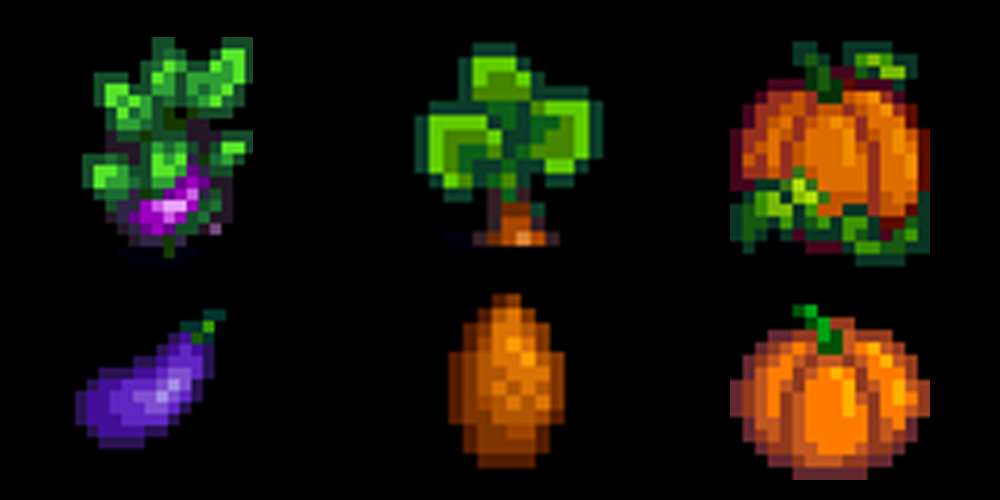
- Eggplant
- Yam
- Pumpkins (at least enough for 5 gold-quality)
Pumpkins are the strongest Year One Fall crop for raw selling price. Cranberries provide steady regrowth income, but Pumpkins give larger single-sale profits and better processing value.
If you already have kegs or preserves jars, Pumpkins become even stronger.
Restore the Bus – The 42,500g Investment

The Vault Bundle costs 42,500g total. It sounds expensive — but if you followed the hops strategy, it’s very achievable.
Restoring the Bus unlocks:
- Skull Cavern (Iridium farming)
- Starfruit Seeds from the Desert Oasis
- Access to high-tier progression
Starfruit Wine becomes your long-term gold engine.
The earlier you unlock the desert, the stronger your Winter and Year Two become.
Greenhouse Unlock – The Turning Point of Year One

Unlocking the Greenhouse before Winter is one of the biggest power spikes in Stardew Valley. Once the Pantry bundles are complete, you gain access to year-round farming — no more seasonal limitations.
Your Goal: Finish the Pantry bundle by mid–Fall at the latest so construction completes before Winter begins.
As soon as it’s unlocked, clear it out and place Quality Sprinklers immediately. You want full coverage as quickly as possible.
What to Plant First:
- Starfruit (best long-term profit)
- Pumpkins (temporary filler if starfruit seeds are limited)
Starfruit seeds are purchased from the Desert after restoring the Bus. They cost 400g each — expensive early, but extremely worth it.
Here’s why:
- Starfruit sells for 750g base price
- Starfruit Wine sells for 3,000g base price
If you have Kegs running consistently, your Greenhouse becomes your primary income engine for the rest of the game.
Pro Tip: Plant Fruit Trees (especially Pomegranate and Apple) around the outer tiles inside the Greenhouse. They grow year-round and don’t block crop tiles once mature.
Bulletin Board Prep – The Final Community Center Hurdle

The Bulletin Board is usually the last bundle to finish because it requires animal products, cooking, and rarer items.
To avoid delays, prepare these early:
- Buy a Rabbit → Needed for Rabbit’s Foot (rare drop)
- Buy a Pig → Needed for Truffles (Chef’s Bundle)
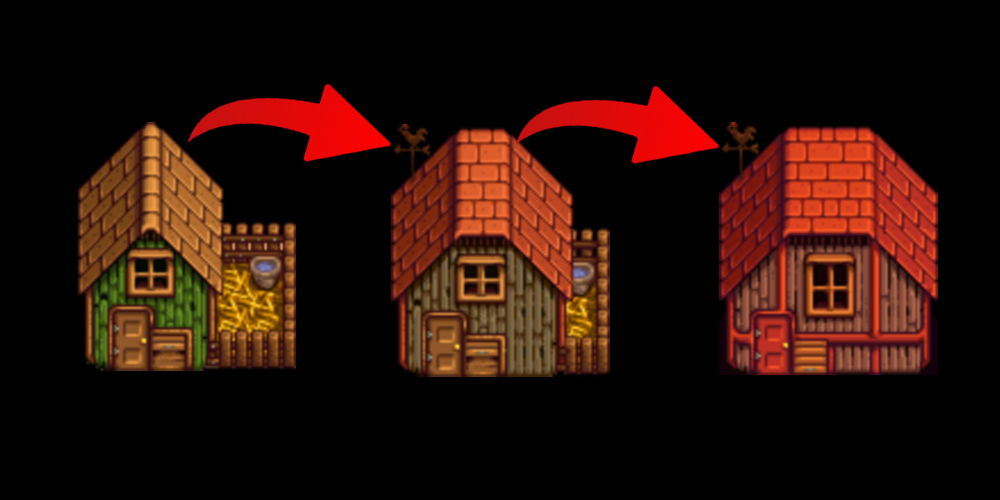
- Upgrade your House once → Unlocks kitchen for cooking
- Plant Apple & Pomegranate Trees → Required fruit for bundles
Important: Keep animals happy. Buy heaters from Marnie before Winter. Unhappy animals delay drops like Rabbit’s Foot and Duck Feather.
The sooner you buy these animals (ideally in Summer), the better your odds of finishing before mid-Winter.
Winter – Iridium Farming & Ginger Island Rush

Winter is no longer a “dead” season. With the Greenhouse running and Skull Cavern unlocked, Winter becomes one of the most productive seasons of Year One.
Your Winter Focus:
- Finish the Bulletin Board
- Farm Skull Cavern for Iridium
- Collect Hardwood daily
- Prepare for Ginger Island
Because crops don’t grow outdoors, your energy can be fully dedicated to mining and preparation.
Skull Cavern Strategy for Winter
Winter is the perfect time to farm Iridium Ore.
Preparation checklist:
- Bring high-healing food (Cheese, Pumpkin Soup, etc.)
- Bring bombs or explosive ammo
- Use the Slingshot for fast ore clearing
- Go only on high-luck days
Focus less on clearing floors and more on descending quickly. The deeper you go, the more Iridium nodes spawn.
Iridium is used for:
- Iridium Sprinklers
- Crystalariums
- Upgrading tools
- Fixing Willy’s Boat
Fix Willy’s Boat – Unlock Ginger Island

After completing the Community Center, Willy will ask for help repairing his old boat.
You will need:
- 200 Hardwood
- 5 Battery Packs
- 5 Iridium Bars
This is why collecting hardwood daily in Summer and Fall is critical. If you skipped Secret Woods runs, you’ll delay Ginger Island access.
Battery Packs must be prepared in Summer using Lightning Rods — they cannot be generated naturally in Winter.
Once repaired, pay 1,000g to travel to Ginger Island.
Why Ginger Island Changes Everything
Ginger Island completely removes the limitations of Winter.
Major benefits:
- Island Farm → Grow crops year-round outdoors
- Volcano Dungeon → Weapon upgrades & late-game materials
- Golden Walnuts → Unlock island features
Unlocking the Island Farm early means you effectively skip Winter farming downtime.
Plant Starfruit immediately on Ginger Island if you have seeds available.
End of Year One Results
If you followed this roadmap correctly, by the end of Winter you should have:
- Community Center fully completed
- Greenhouse operational with Starfruit
- Bus restored
- Skull Cavern unlocked
- Ginger Island unlocked
- Multiple Kegs producing wine
- Strong farm infrastructure
You may not have millions yet — but your systems are in place.
Year Two becomes exponential growth instead of slow rebuilding.
Final Advice for a Strong Year One
- Always check the Community Center before a season ends
- Think one season ahead
- Invest in infrastructure over short-term profit
- Use Winter to prepare, not rest
Master Year One, and the rest of Stardew Valley becomes dramatically easier.
Now you’re not just surviving — you’re optimizing.